
I have cracked the use of Battlechronicler, so I can now supply explanatory maps and cut down on text - always far better to get the casual blog reader to follow a battle report, I find!
The situation starts with the Aschenbach army behind the small stream near the village of Berkhoek. Their right is on a wood, while their left is near a marsh. The cavalry is on the left, while there is a small field redoubt between the cavalry and infantry to protect the line further.


The Aschenbach line, seen from the redoubt.
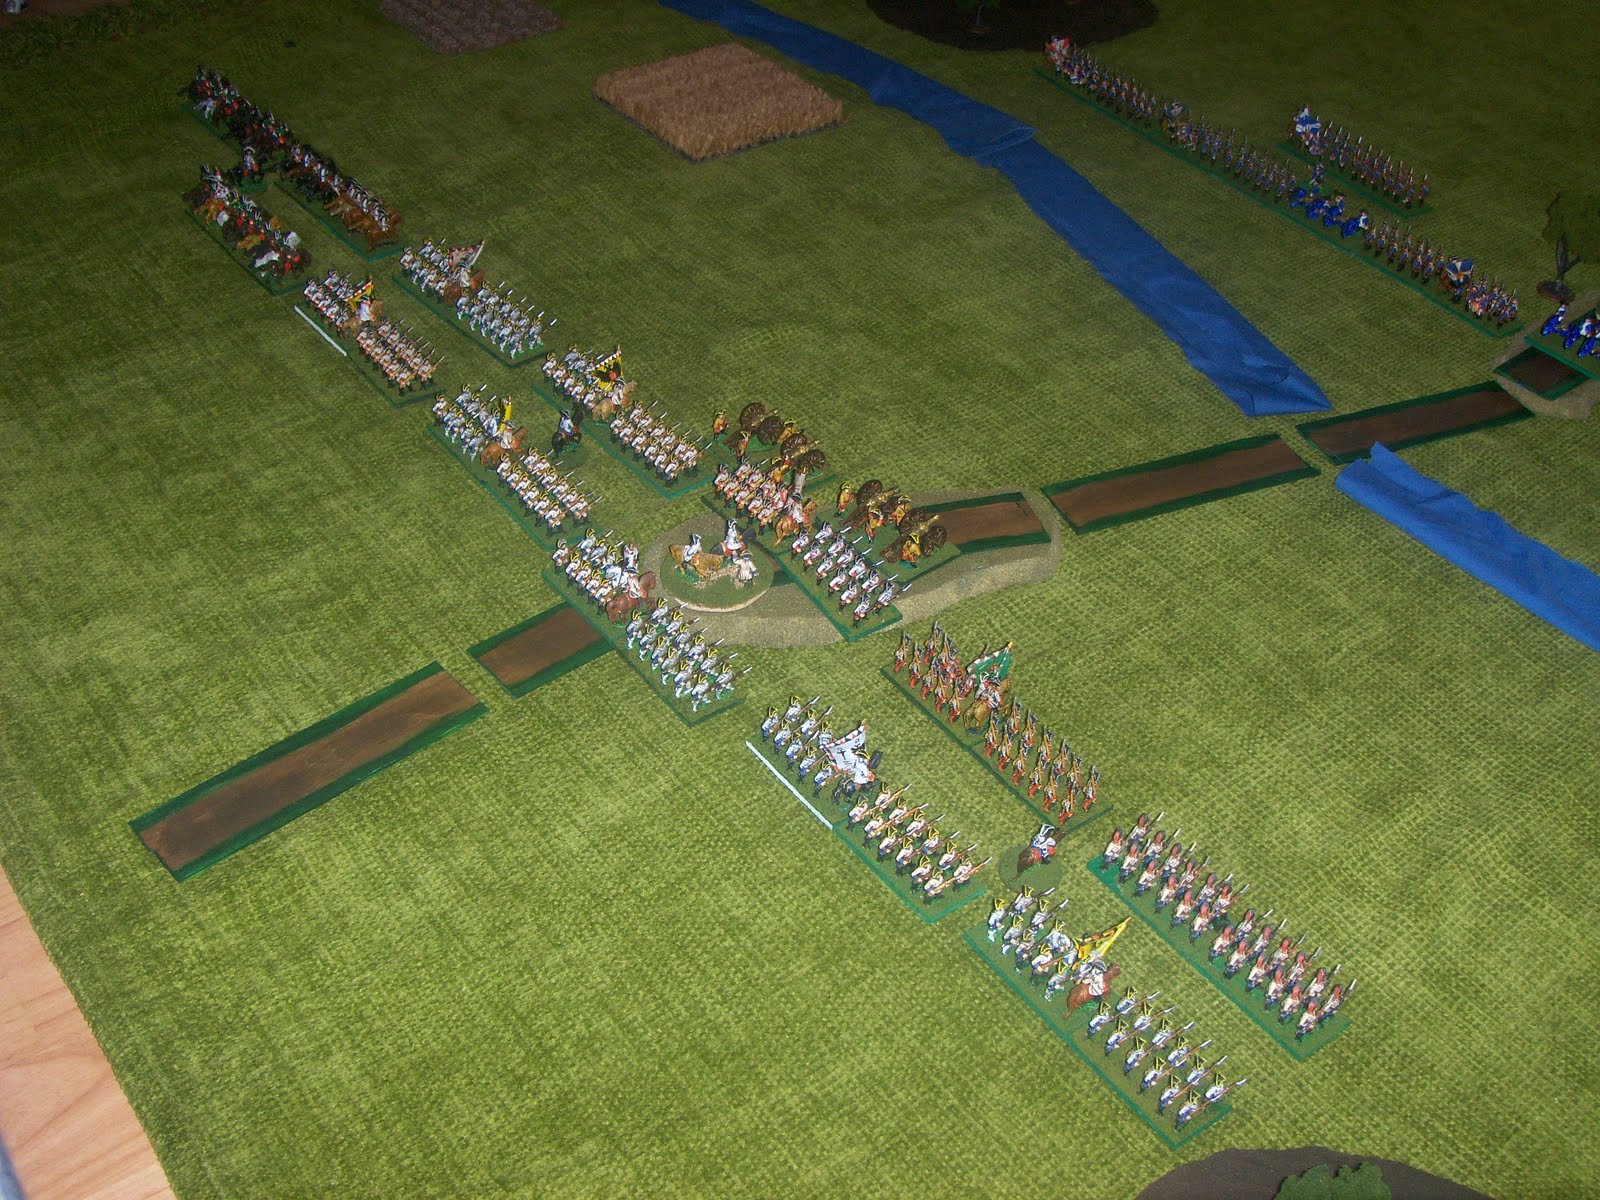
The full Luftberg army, deployed in classic linear style.

The advance got underway - Luftberg planned to pin the front and quickly deliver a flanking blow with the cavalry, which would roll up the enemy line. The Right-Wing cavalry advanced rapidly, splashing through the stream in front of the enemy horse and taking heavy fire from the redoubt.

The cavalry press on and attack the enemy dragoons, flanking them and forcing them back. Elsewhere the left-wing cavalry continue to languish and make slow progress, while the infantry lines trade long-range volleys. The grenadiers push heroically forward however, showing the aggressive spirit necessary!

The cavalry battle in progress.

Presumably inspired by the example, the Hungarians cross the stream too, after the Grenadiers - one battalion of which charges and captures the artillery guns next to the redoubt in heroic style, but sadly the redoubt's defenders make further advance impossible without exposing their flanks to deadly fire. Where are the cavalry - they're surely meant to protect against this sort of thing!

The infantry lines stutter forward towards each other, with battalions being repeatedly halted in disorder by the hot fire. Aschenbach is naturally doing better here, outshooting it's more poorly-drilled rivals.

Aschenbach's line is straining as the casualties mount, but the reserve Fusilier battalion from the depot in the rear finally arrives to help out. Likewise, a battalion of IR7 refuses the flank to keep the line together.

At last! The left-wing cavalry finally roll an excellent move and ford the stream, heading deep into the enemy rear. The right-wing cavalry are stalemated, and a second attempt by the grenadiers to charge some cannons is halted in a storm of grapeshot. The line is holding, but only just - and there's nothing left to stop this cavalry attack threatening to descend. Von Hartling decides to withdraw slowly, hopefully avoiding the enemy cavalry before it can get a successful orders roll. Disaster strikes however, when Von Hartling completely fails his own orders roll - his army is a sitting duck!

Nooo! The cavalry commander on the Luftberg left wing gets the second full-effect orders roll - two turns in a row now! This incredible streak of form sees his horsemen descend onto the backs of the hard-pressed bluecoats, who promptly shatter like glass.


The disaster is total - two battalions are scattered, while a third is surrounded along with the surviving gunners. Caught deep within the milling hordes of Luftberg troops, there's nothing for it but to send out a white flag and begin the genteel process of negotiating an honourable surrender. Von Hartling does however use the time for this wisely, snatching his remaining infantry clear of the wreckage, abandoning the redoubt and falling back behind his cavalry as a screen.

Gentlemen, another glorious victory to the Elector Von Luftberg - champagne!
4 comments:
A convincing win for Luftberg, indeed. The software along with the battle pics certainly allows the reader to follow the action closely. Thanks for sharing!
A wonderful battle, great maps, Reich Duke Wilhelm has ordered an artillery salute in honor of the Luftberg victory. Well done indeed...
Agreed about the maps, the pictures, and the convincing Luftberg victory!
A shattering defeat for Aschenbach! Will they recover? I like the battle maps to accompany the pictures: makes the unfolding action very easy to follow.
Post a Comment